How handy would it be to have a shared network folder where you can drop a PDF to print and it just magically pops out of the printer a couple of mins later? Especially since you can print to PDF from pretty much any platform or device..including mobile phones and tablets. Pretty handy I think! Especially if you can do so with pretty much any old (or even ancient) printer rather than having to buy a funky new bluetooth/wireless one.
Here’s how to do just that…
[EDIT: btw I keep coming back to this howto every time the microSD in the pi which runs our CCTV dies, so it should actually be relatively up to date (~2ys} xD]
Background…(you can skip this bit if you like)
Ok so we had an interesting situation the other week where my trusty Canon IP4200 printer which I’ve had pretty much forever suddenly stopped working. Shit.
However, when I got it I’d been printing a LOT onto DVDs so was going through printers like most people go through toilet roll. So clever me, when I bought the IP4200, since I happened to get it reconditioned and at a great price, I bought a spare one at the same time and stuck it in the loft for the time when the first one inevitably failed.
Well years passed and printer #1 just kept on truckin’ and then I stopped printing DVDs and it got relegated to printing the occasional ebay postage label and the odd document now and then for my partner. It was used very rarely but occasionally we DO need a printer.
So anyway I untangled the dead Canon from the wiring spaghetti it inhabited, retrieved the backup from the attic and plugged it in, swapped the cartridges over and…wohoo! all working \o/.
Well nearly. I’d forgotten to swap the print head over. No worries, cartridges out, whipped the print head out of printer #1 and fitted to printer #2, refitted the carts and we’re off to the races…or not.
Now #2 was behaving exactly the same way as #2 had done (i.e. nothing).

A little bit of googling later – it turns out apparently those Canons are prone to the printer head (replaceable unit) going, which kills the logic boards in the printer body. So by swapping my dead printer head into the new printer body I’d just killed printer number 2. Shit!
I resent having to buy printers at the best of times so figured someone in the family must have an old printer knocking about we could use. It only needed to be able to print black and white anyway so really anything would do.
So I spoke to my Dad and as I’d hoped he had a couple of spare printers which had become obsolete during his recent windows 10 upgrade frenzy…they were working perfectly fine but windows didn’t wanna know anymore so they were doomed for the scrapheap.
Perfect 😀
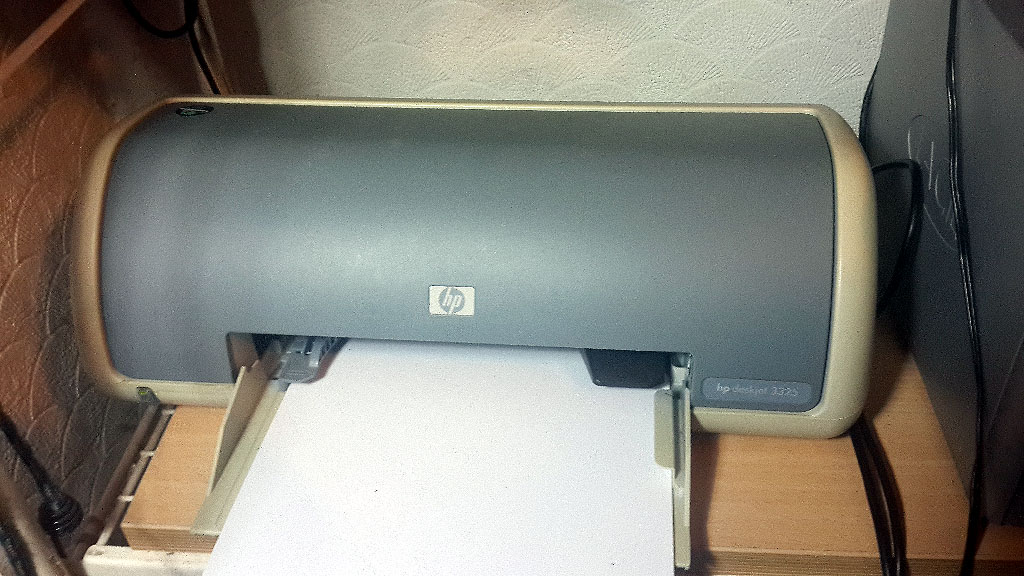
Enter our new (ancient) HP deskjet 3325…
After a bit of fiddling I established it not only didn’t play with windows 10, but also didn’t work with windows 7. Whilst it allegedly worked with XP and we do still have the occasional XP machine they’re tucked away in server cabs so placement wouldn’t really have been handy…so I figured there had to be a better way.
Linux to the rescue (as ever)
I think you reach a point in your IT career where most things can be solved with a linux machine and a bit of bash scripting…and this was very much one of those occasions.
I have a couple of Raspberry Pi machines which run various household tasks (torrent/TV server, CCTV server etc) so figured I’d put one of those to use, which as it turned out was actually very straightforward.
First you will need to install CUPS (common unix printing system). I won’t cover that here since there’s lots of tutorials on it. I did it on a raspberry pi and primarily used info from here:
http://www.penguintutor.com/linux/printing-cups
And there’s some additional info on administering CUPS here:
http://askubuntu.com/questions/23936/how-do-you-administer-cups-remotely-using-the-web-interface
If you have an HP printer you may also want the linux drivers from HERE
To enable CUPS remote admin do this (source);
cupsctl --remote-adminWithout that you can only see the CUPS admin page from the host itself, not so handy if you’re setting up from a networked machine.
Ok so if you follow those instructions you should hopefully get your printer installed and able to print a test page from the CUPS admin page.
In the past when my partner needed something printing she’d print it to PDF from her laptop, tablet or whatever and email it to me, since the printer was attached to my PC. This is a process which has worked pretty well for us for a number of years. The plan was to continue this format but in a slightly more automated way.
So the first thing to do is fire up a console on your linux machine (I was using SSH remotely on a Raspberry Pi) and find out the name of your installed printer:
NOTE: As usual – things you type will be in bold, important stuff or stuff you’ll need to change in pink.
pi@pi1:~ $ lpstat -p -d
printer HP_deskjet_3320_USB_HU31S1R1M34I_HPLIP is idle. enabled since Sun 05 Mar 2017 21:24:06 GMT
no system default destination
the name of your printer should be where the pink text is here. If not, go back and retry installing CUPS or your printer *on* CUPS.
Groovy, so the next thing to figure out is how to print a PDF from the linux command line…for which I culled info from here:
https://makandracards.com/makandra/24202-linux-how-to-print-pdf-files-from-the-command-line
I ended up having to use a line like this:
pi@pi1:~ $ lp -d HP_deskjet_3320_USB_HU31S1R1M34I_HPLIP blahblah.pdf
where “HP_deskjet_3320_USB_HU31S1R1M34I_HPLIP” was the name of the printer as listed in CUPS and blahblah.pdf is the PDF file to print.
For this to work you’ll probably also want to set up SAMBA too so that windows machines can easily drop PDFs into the shared folder. Ironically it’s less of an issue from phones/tablets since they seem to support sftp natively (e.g. ES File Explorer on android). There’s info on setting up Samba here:
and another: setting up samba on raspberry pi
Bringing it all together…
ok so by now hopefully you have a printer running via CUPS on your linux machine, a samba share which all your machines can access from the network..time for a couple of lines of Bash magic to make it all work…
open up a new file called autoprint.sh
pi@pi1:~ $ sudo nano autoprint.sh
and enter the following:
#!/bin/bash

cd /home/pi/to_print
for d in *.pdf ; do
 echo "Processing file: $d"
 lp -d HP_deskjet_3320_USB_HU31S1R1M34I_HPLIP -o fit-to-page "$d"
 rm "$d"
 echo "DONE: $d"
done
Replace the printer name in pink with the name of your printer you found out from doing lpstat earlier, and you will also need to change the first line “cd /home/pi/to_print” to match whatever folder you designated as your shared folder.
Then CTRL+X and yes to exit & save.
**Note the addition of “-o fit-to-page” option which stops it cropping the bottom off the page. Thanks to this person
We need to make the script executable so do:
pi@pi1:~ $ sudo chmod +x autoprint.sh
What this script does is changes to your “to print” folder and iterates through all the pdf files in the specified folder and prints them, then deletes the PDF after printing. Simples.
Obviously use this as a “temp” folder, don’t put the only copy of your PDF you want to print in there. since it will get deleted. If you want two copies, put two copies of the file in there. The script doesn’t care about the filename as long as it’s a PDF.
You can test the script by dropping a PDF in the to_print folder and running the script manually:
pi@pi1:~ $ ./autoprint.sh
The printer should start doing its thing. If not – check you’ve got your paths set up right.
Once the script is working, the last thing to do is to add a line to cron to make the linux machine periodically run the script…and then we’re set!
So open up the cron:
pi@pi1:~ $ sudo nano /etc/crontab
and towards the end add the following line:
*/3 * * * * pi /home/pi/autoprint.sh
If you’re running on a raspberry pi you can leave the “pi” bit as is, otherwise you will need to put whatever user account you want to run it under. You will probably also need to adjust the path to point to wherever your script is located..otherwise obviously it won’t run.
The */3 at the start means that the script will run every 3 mins.
So now with a bit of luck you should be able to browse to the shared folder on the Raspberry pi (or whatever linux machine you used), drop a PDF in the “to print” folder and after a few mins the printer should start doing its thing.
\o/
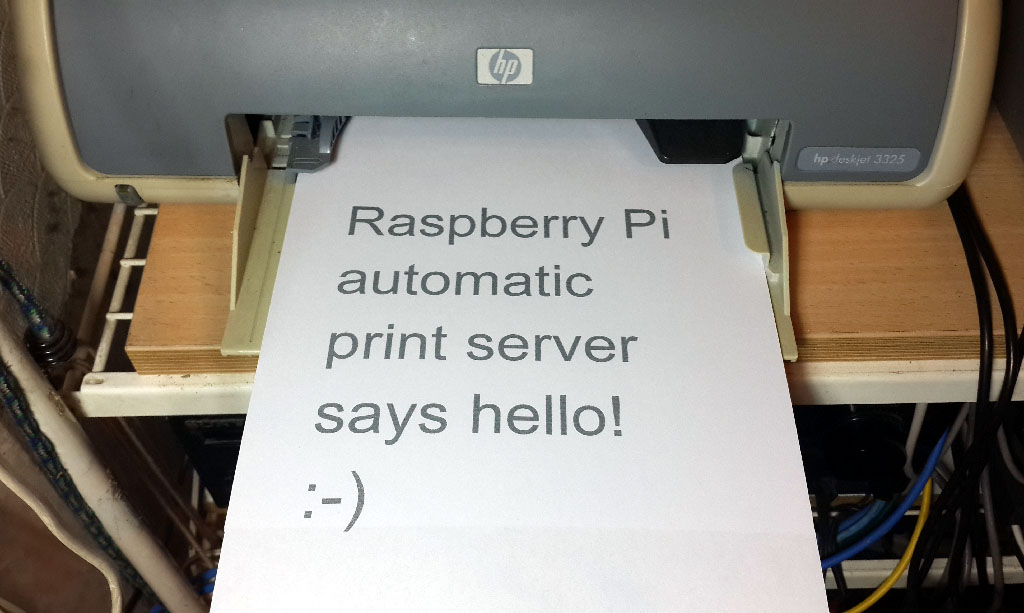
#winning
If you have questions or feedback please leave them in the comments 🙂
Edit: you can access CUPS on your printer by visiting http://ipofyourpiserver:631
Your site is so fantastic. I’m going to come back here again.
Keep up the great work guyz.